To successfully 3D print polypropylene, start by using a heated bed set between 85-100 °C to avoid warping. You'll need a standard hotend with an extruder temperature of 220-250 °C. Consider using packing tape or polypropylene sheets for a better build surface. Brims or rafts can enhance stability for larger parts. Print the first layer slowly, adjusting the speed and temperature for optimal adhesion. To maintain the integrity of your prints, use a cooling fan for layers under 20 seconds. With these tips, you're well on your way to mastering polypropylene printing—there's more to uncover about the process!
Key Takeaways
- Maintain a heated bed temperature between 85-100 °C to enhance adhesion and minimize warping during the printing process.
- Use appropriate build surfaces like packing tape or polypropylene sheets to improve print stability and adhesion.
- Implement brims or rafts for larger prints to increase surface contact with the build plate, enhancing stability.
- Set extruder temperatures between 220-250 °C, starting lower for initial layers to improve adhesion.
- Employ a heated enclosure to maintain consistent ambient temperatures, reducing the risk of thermal shock and warping.
Understanding Polypropylene Properties
Understanding polypropylene properties is crucial for anyone looking to leverage its advantages in 3D printing.
Polypropylene (PP) is a semi-rigid thermoplastic polymer known for its impressive mechanical properties. With a tensile strength ranging from 20 to 40 MPa and an elongation at break of 100% to 600%, it offers excellent ductility and flexibility when under stress. This makes it ideal for applications requiring durability and resilience.
However, be aware of its semi-crystalline structure, which can lead to significant warping during the cooling process. Therefore, managing temperature effectively during printing is essential. The melting point of polypropylene ranges from 130 to 171°C, so you'll need to set your extruder temperature between 220°C and 250°C for optimal results.
Lightweight, with a density between 0.895 and 0.93 g/cm³, polypropylene boasts a high strength-to-weight ratio that enhances its versatility in various manufacturing applications.
Essential Hardware for Printing
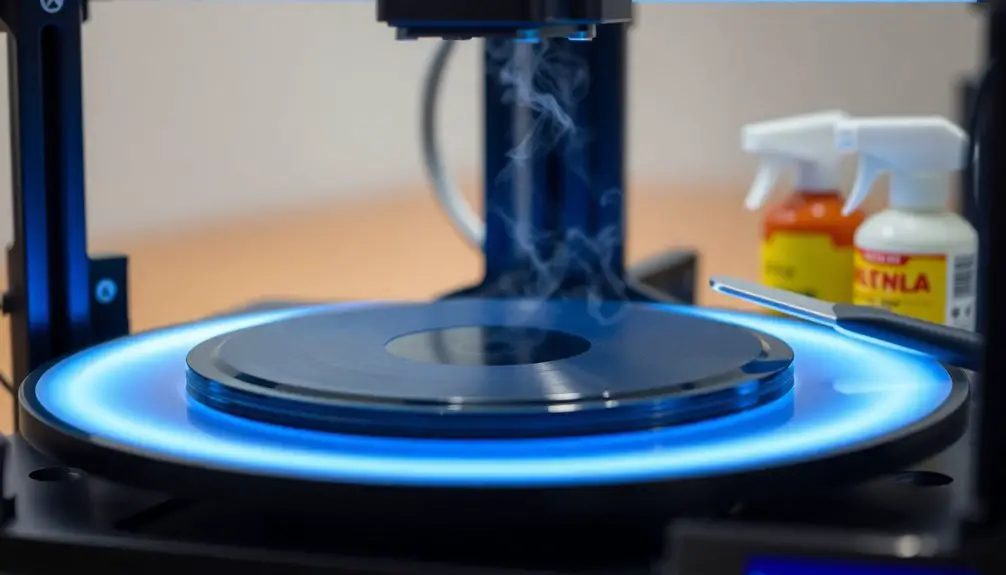
To achieve successful 3D prints with polypropylene, selecting the right hardware is crucial. First, you'll need a heated bed, ideally set between 85-100 °C, to help prevent warping during the printing process.
Next, ensure your build surface enhances bed adhesion; using packing tape or a polypropylene sheet works well for this material.
Here's a quick checklist of essential hardware:
- Heated Bed: Maintain temperatures to prevent warping.
- Build Surface: Use packing tape or a polypropylene sheet for better adhesion.
- Extruder: Set the temperature between 220-250 °C; standard hotends work fine for regular polypropylene.
Additionally, maintaining an insulated environment by mimicking a microclimate can be beneficial for optimal printing results.
- Part Cooling Fan: Crucial for quality prints, especially when layers print quickly.
- Abrasive-Resistant Nozzle: Recommended if you're working with fiber blends to avoid wear.
With the right setup, you'll significantly improve your chances of producing high-quality prints.
Techniques to Prevent Warping

Warping can be a significant challenge when printing with polypropylene, but several techniques can help you mitigate this issue effectively. Start by utilizing a heated bed set between 85-100 °C to maintain adhesion and reduce the likelihood of warping and shrinkage.
Consider using a heated enclosure to keep the ambient temperature consistent, as this minimizes thermal shock. Additionally, employing specialized build surfaces like packing tape or polypropylene sheets enhances adhesion, preventing the first layer from lifting. For larger parts, implement a brim or raft; these features increase the surface area in contact with the build plate, significantly reducing warping.
Finally, adjust your first layer settings by lowering the print speed and temperature. This adjustment promotes better adhesion and reduces the chances of separation during the cooling phase.
Here's a summary of these techniques:
| Technique | Purpose | Benefits |
|---|---|---|
| Heated Bed | Maintain adhesion | Reduces warping and shrinkage |
| Heated Enclosure | Consistent ambient temperature | Minimizes thermal shock |
| Brim/Raft | Increased surface area | Lowers chances of warping |
Best Practices for Successful Prints
Achieving successful prints with polypropylene involves a combination of careful preparation and attention to detail. To ensure your prints come out right, follow these best practices:
- Maintain heated bed temperature: Keep your heated beds between 85-100 °C to minimize warping.
- Use appropriate build surface: Consider using packing tape or a polypropylene sheet to enhance adhesion, preventing the first layer from pulling up.
- Implement rafts or brims: This adds stability for larger parts, ensuring a strong bond with the heated bed.
- Adjust extruder temperature: Set your extruder to 220-250 °C for optimal layer adhesion. Start lower for the initial layers to aid in separation.
- Utilize a cooling fan: If your layer time is under 20 seconds, employ a part cooling fan to maintain print integrity.
Applications of 3D Printed Polypropylene

When it comes to 3D printing, polypropylene (PP) stands out for its versatility in various applications. One of the key benefits of 3D printing with polypropylene is its lightweight and durable nature, making it perfect for manufacturing containers and packaging solutions.
In the automotive industry, you'll find PP used for components that require both strength and flexibility. The material's excellent chemical resistance is particularly advantageous in medical devices, allowing you to create prototypes and end-use parts that can withstand sterilization and exposure to harsh chemicals.
With a high elongation at break of 100% to 600%, printing with polypropylene is also ideal for flexible household items and consumer products that see regular handling. Additionally, polypropylene's hydrophobic properties and low moisture absorption help prevent warping during the printing process, ensuring that functional prototypes maintain dimensional accuracy.
You can even produce complex geometries without sacrificing strength, which opens up innovative design possibilities in robotics and aerospace applications. This durability is further enhanced by its high melting point, allowing for safe and efficient reuse. Overall, the wide variety of uses for 3D printed polypropylene makes it a valuable material in many industries, enhancing both functionality and efficiency.
Frequently Asked Questions
Why Is Polypropylene Hard to 3D Print?
Polypropylene's tough to 3D print due to its heavy warping, poor adhesion, and lower strength. You'll face dimensional inaccuracies as it shrinks while cooling, complicating your prints and requiring careful design considerations for success.
What Temperature Should a PP Nozzle Be?
For printing polypropylene, you'll want your nozzle temperature set between 220°C and 250°C. Depending on your filament's grade, you might even go up to 280°C for better flow and adhesion. Consistency's key!
Is Polypropylene Stronger Than PLA?
No, polypropylene isn't stronger than PLA in terms of tensile strength. However, it offers better fatigue resistance, flexibility, and impact resistance, making it more durable for applications requiring repeated stress and higher ductility.
Can You Use Polypropylene in a 3D Printer?
Yes, you can use polypropylene in a 3D printer. It's compatible with FDM and SLS technologies, offering flexibility and chemical resistance. Just ensure proper bed temperature and adhesion techniques for successful printing.

