To remove scratches from black plastic bumpers, start by cleaning the area with mild soap and water. Once it's dry, sand the scratch using coarse sandpaper, then switch to finer grits for a smooth finish. If necessary, apply heat carefully with a heat gun to help reshape any deep scratches. After sanding and heating, polish the area using a quality compound to restore shine. Lastly, protect the bumper with a ceramic-based trim restorer to prevent future damage. Follow these steps, and you'll achieve great results; there's plenty more advice to help keep your car looking its best.
Key Takeaways
- Clean the scratched area with a mild soap solution to remove dirt and debris before treatment.
- Sand the scratch gently with coarse sandpaper, progressing to finer grits for a smooth finish.
- Optionally, apply heat using a heat gun to help reduce the visibility of deeper scratches.
- Polish the area with a high-quality compound to restore shine and smoothness.
- Protect the bumper with a ceramic-based trim restorer for long-lasting maintenance and prevention of future scratches.
Clean the Area
Before tackling scratches on your black plastic bumper, you should kick off the process by thoroughly cleaning the area. Start by mixing a mild soap with water to create a solution. Use this mixture to gently scrub the scratched area with a soft-bristled brush or sponge, removing any dirt, debris, or grime that may have accumulated. Rinse it well with clean water to get rid of any soap residue. Regular cleaning with UV protectors can also help maintain the appearance of your plastic bumper and prevent further damage.
After rinsing, dry the area thoroughly with a microfiber cloth to avoid water spots or residues. It's crucial to ensure the surface is spotless to prevent further damage during the repair. Inspect the area closely to assess the extent of the scratches and decide on the best removal approach. If you notice any remaining dirt or debris, don't hesitate to repeat the cleaning process.
If the scratches are minor, consider using a specialized plastic cleaner, but always test it on an inconspicuous area first. Remember, avoid harsh chemicals or abrasive materials that could worsen the damage. Additionally, ensure that there is no debris remaining before sanding, as a clean workspace is essential for effective scratch removal.
Keeping your bumper clean is the first step in making it look like new again!
Sand the Scratch
After ensuring the area is clean and free from debris, you can start addressing the scratches on your black plastic bumper.
First, choose the right sandpaper. Begin with coarse sandpaper (200 grit) for initial sanding, then switch to finer grits (800 and 2000) for smoothing. Use gentle, circular motions to avoid causing additional damage. Remember, patience is key; rushing can lead to more noticeable marks, and avoid over-sanding, as this can compromise the bumper's texture. It is also essential to apply a plastic bonder to the area after sanding for a more durable repair.
Next, assess the scratch depth by running your fingernail over it. For minor scratches, a plastic cleaner may suffice, but for deeper ones, you'll need to sand carefully. Identifying scratch severity is crucial to ensure you are using the correct technique for the type of damage.
Apply gentle pressure and work in sections for better control, cleaning the area with soap and water between sanding stages to remove debris. Regularly check your progress to ensure the surface is becoming smooth.
Apply Heat (Optional)

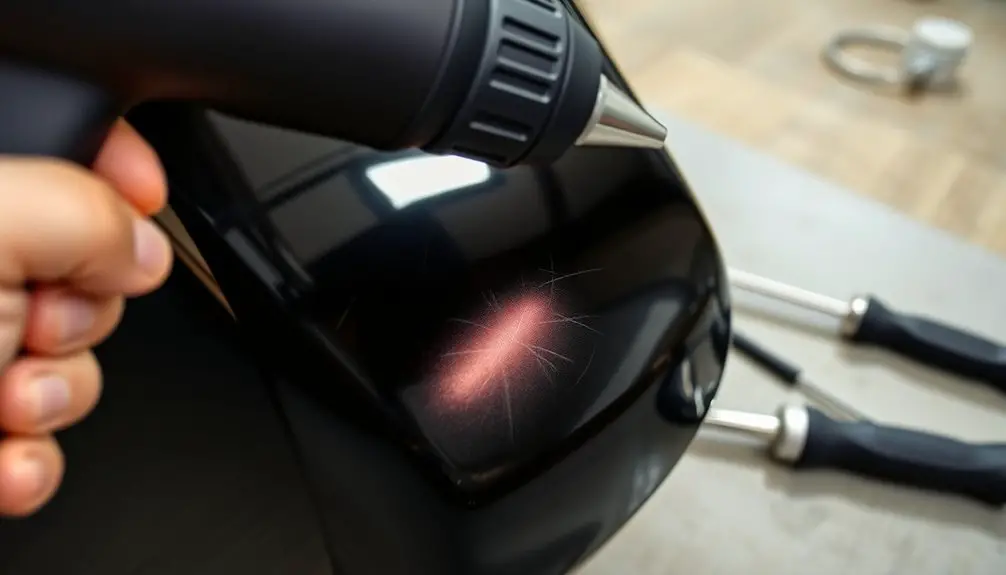
Applying heat to the scratched area can significantly reduce the visibility of deeper scratches, as it helps to expand the plastic. Before you start, gather your materials: a heat gun, protective gloves, and a microfiber cloth. Make sure the area is clean and free from dirt or debris, and thoroughly dry it to avoid any watermarks, which is an important step in the plastic welding process that involves surface preparation. It is essential to ensure the surface is clean before proceeding to heat application, as cleaning the affected area can enhance the effectiveness of the repair process.
When you're ready, set your heat gun to a low to medium heat setting. Hold the heat gun a few inches away from the bumper and move it continuously along the scratched area. This motion prevents concentrating heat on one spot, which could cause melting or warping.
Apply heat for a short duration—just enough to see some changes.
After heating, visually inspect the scratch to see if its appearance has improved. If it still looks prominent, you can consider sanding the area again to smooth it out further.
Don't forget to wear your gloves for protection and to grip the tools better, and always test the heat gun on a small, inconspicuous spot first.
Following these steps helps you handle the heat safely and effectively.
Polish the Area
- Prepare the Surface:
- Clean the area with a mild soap and water solution to eliminate dirt and debris.
- Rinse and dry it with a soft cloth.
- Assess the scratch's depth to choose the appropriate polishing method.
- Remove any residue from cleaning or sanding using a soft cloth.
- Regular cleaning with safe agents, such as DIY solutions, prolongs the lifespan of plastic surfaces.
- Apply Polishing Compound:
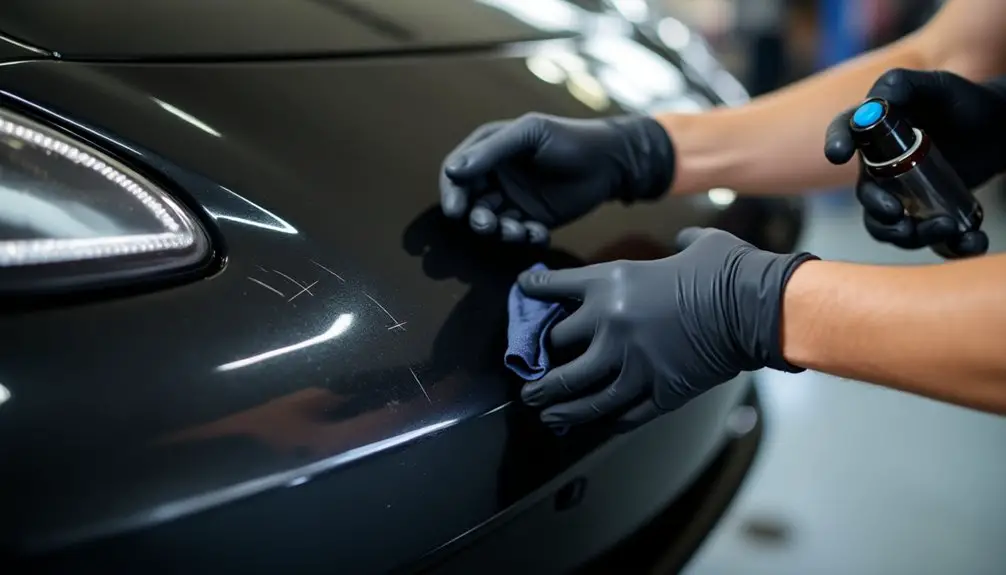
- Select a high-quality polishing compound designed for plastic bumpers.
- Apply it in small circular motions as directed by the manufacturer.
- Buff the area dry with a soft cloth for an even finish.
- Enhance Shine:
- Keep polishing until you achieve your desired shine, checking progress frequently. Additionally, monitor progress to ensure an even and smooth finish while polishing.
- Use a microfiber cloth to distribute the polish evenly and avoid scratches.
- Final Touches:
- Inspect the area to ensure the scratch is gone and the surface is smooth.
- Wipe away any excess polish for a clean finish, leaving your bumper looking refreshed.
Protect the Bumper

To keep your black plastic bumper looking its best, it's essential to protect it from future damage. Start by cleaning the bumper using gentle car washing soap and water. Make sure to dry it thoroughly with a microfiber cloth to prevent watermarks. If there are any old waxes or dressings, remove them for better bonding of protective products. Using materials with high density polyethylene can enhance the durability of the bumper, making it more resistant to scratches and cracks.
Next, assess the severity of any scratches. For minor scratches, a plastic cleaner and microfiber cloth should suffice. Deeper scratches may require fine-grit sandpaper or even a heat gun for effective treatment. All plastic trim will fade, crack, and dry out without protection.
Finally, apply protective coatings. Choose a ceramic-based trim restorer for long-lasting results, and follow the product instructions carefully. Regular maintenance is key, so clean your bumper often and avoid abrasive materials.
Here's a summary of the protection steps:
| Step | Action Required | Purpose |
|---|---|---|
| Clean the Bumper | Use gentle soap and water | Remove dirt and debris |
| Assess Scratches | Identify depth and use appropriate cleaner/sandpaper | Determine treatment method |
| Apply Protective Coating | Use ceramic-based products or high-quality wax | Safeguard against future damage |
Frequently Asked Questions
Can I Use Regular Sandpaper Instead of Automotive Sandpaper?
You can't use regular sandpaper instead of automotive sandpaper. It's not designed for car surfaces and may damage them. Automotive sandpaper offers better grit options and compatibility, ensuring a smoother finish for your projects.
How Do I Know if the Scratch Is Too Deep?
To know if the scratch is too deep, inspect it visually, perform a fingernail test, or apply water. If it catches your nail or remains visible, it's likely deeper than the clear coat.
What if the Scratch Is on a Painted Bumper?
If the scratch is on a painted bumper, assess its depth first. For minor scratches, buff with a rubbing compound; for deeper ones, fill, sand, and repaint to restore the bumper's appearance and protect it.
Is It Safe to Use a Heat Gun on All Plastics?
It's not safe to use a heat gun on all plastics. Different types have varying temperature tolerances, so always check the specific material's guidelines and start at lower temperatures to avoid damage or melting.
How Often Should I Wax My Plastic Bumper?
You should wax your plastic bumper every 2-3 months, depending on its exposure to the elements. Regular waxing helps maintain appearance, protects against UV damage, and keeps your vehicle looking its best.

