Fixing plastic furniture damage is simple when you know what to do. First, gather essential tools like scissors, pliers, and sandpaper, along with new rattan strips and adhesives. Inspect your furniture for scratches, cracks, or dents. For scratches, sand them down; for cracks, apply adhesive and clamp until firm; and for dents, use heat to reshape. If your furniture's faded, a fresh coat of paint or dye can work wonders. Maintaining your furniture regularly will help prevent future issues. Want to discover more effective techniques and tips? There's plenty more useful information to explore!
Key Takeaways
- Assess the type of plastic damage, such as scratches, cracks, dents, fading, or stains, to determine appropriate repair methods.
- Clean the furniture thoroughly before repairs using a damp cloth, followed by deep cleaning with baking soda and a non-abrasive sponge.
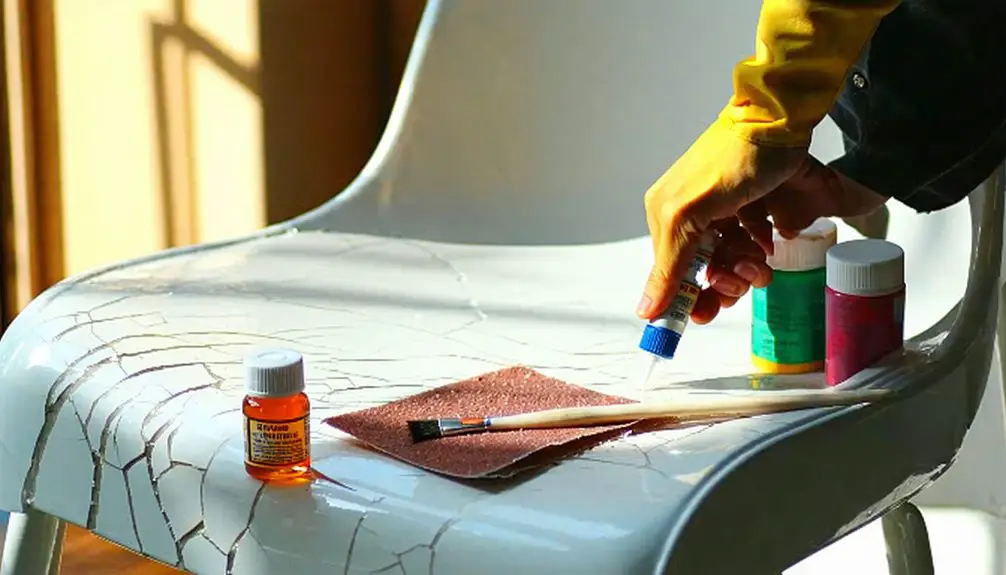
- For scratches, use sandpaper to smooth the edges; for cracks, apply adhesive and clamp until set.
- Replace damaged rattan strips by cutting new ones, weaving them into the existing pattern, and trimming excess material.
- Establish a regular maintenance routine to prevent future damage, including cleaning and applying UV-resistant coatings.
Gathering Tools and Materials
Before you dive into repairing your plastic furniture, it's essential to gather the right tools and materials. Start with a pair of scissors or a box cutter to cut broken rattan strips. You'll also need needle-nose pliers for handling the new rattan strips and a hammer or mallet to tap everything into place. Applying UV protectors during the repair process can help prevent fading and damage from sunlight.
A measuring tape is crucial for determining the length of the original wicker strips, and a utility knife can help with any additional cutting tasks. Additionally, understanding that plastic wicker is a style of weave can help you select the appropriate materials.
Next, stock up on materials. Get new plastic rattan strips that match the size and color of the old ones. You'll need quick-set resin epoxy for gluing the new strips into place. A paintbrush and matching paint will help you touch up the original color of your furniture.
If necessary, wood glue can reinforce joints, and sandpaper will smooth out surfaces. Don't forget adhesives and fillers like epoxy putty for filling gaps and silicone sealant for sealing cracks. Regularly cleaning with a mild soap solution, as part of your maintenance routine, can help prevent dirt buildup.
Lastly, gather additional supplies like a drop cloth to protect your workspace, safety gloves and goggles for protection, clamps for holding pieces, and rags for cleaning up excess adhesive or paint.
Assessing and Cleaning Furniture
Once you've gathered your tools and materials, the next step is to assess and clean your furniture.
Begin by identifying the type of plastic used, as this can influence repair methods. Visually examine the furniture for cracks, breaks, or any other damage. For a closer look at fracture surfaces, consider using a low power microscope or scanning electron microscope (SEM). Check for material separation or pigment issues, and determine whether the damage stems from design flaws, material defects, or external factors.
Once you've assessed the damage, it's time to clean. Use a damp microfiber cloth to wipe down the surfaces and remove any surface dirt. If you're dealing with outdoor furniture, a gentle spray from the garden hose will help eliminate debris.
For deeper cleaning, sprinkle baking soda over the surfaces and scrub with a non-abrasive sponge. Let the baking soda sit for five minutes before rinsing with clean water. Finally, dry the furniture with a cloth, ensuring it's completely dry before you start any repairs.
Removing Damaged Rattan Strips

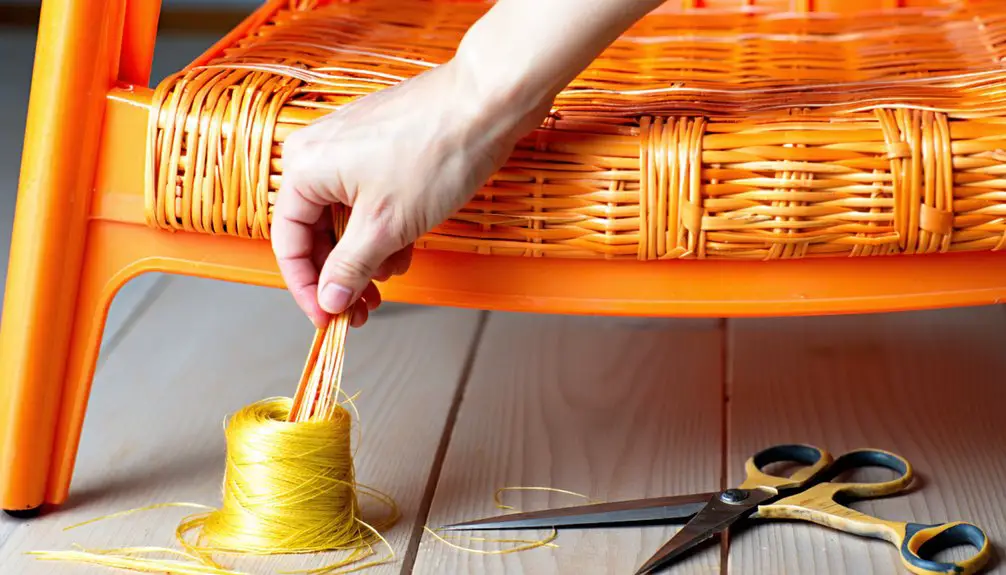
Often, you'll encounter damaged rattan strips that need removal for effective furniture repair. Start by identifying any broken or cracked strips. Grab some scissors or a box cutter to carefully cut the damaged ends, making sure to slice on both sides of the affected area to remove it completely. Measure the length of the damaged sections, as this will help ensure accurate replacements later.
Use pliers to gently pull out any loose rattan strands, and cut off broken pieces with your scissors or pliers. Be cautious not to damage the surrounding weave during this process. It's wise to take a photo of the intricate weaving pattern before you start, so you have a reference for reassembly. Additionally, ensure that you are aware of the importance of regular maintenance to keep your furniture in good condition.
Make sure you're working in a well-ventilated area to avoid fumes from any glue or epoxy. Keep children and pets away from your workspace for safety.
After removing the damaged strips, clean the area thoroughly to prepare for new strips, ensuring the frame remains sturdy and free of debris. This careful removal sets the stage for a successful repair.
Replacing Rattan Strips
Replacing rattan strips can seem daunting, but with the right tools and steps, you can restore your furniture's beauty and functionality. Start by gathering necessary materials like scissors, resin epoxy, new rattan strips, and needle-nose pliers. Measure the length of the original strips to cut new ones slightly longer, ensuring they're pliable by soaking them in water if needed. Regular handling may cause rattan pieces to come untied, so be mindful of repair signals during your project.
Here's a quick overview of the process:
| Step | Action | Tips |
|---|---|---|
| Measure and Cut | Measure original strips, cut new ones longer | Leave extra length for adjustments |
| Weave New Strips | Insert from the backside of the weave | Use pliers for tight spots |
| Trim and Finish | Trim excess at a right angle | Tuck ends beneath other strands |
Begin weaving the new strips into the existing pattern, securing them with glue. Once you've finished, trim any excess material and ensure the weave matches the original style. Remember to wait for the glue to dry completely before using your furniture again. If there's a color difference, repaint as needed. Your furniture will look as good as new!
Protecting and Maintaining Furniture

Protecting and maintaining your plastic furniture is essential to preserving its appearance and longevity. Start with a regular cleaning routine; use a soft brush or cloth to remove dust and debris, as this helps avoid scratches.
Clean your furniture with warm water and mild detergent, then rinse thoroughly with a hose or pressure washer. For pieces with a plastic coating, wipe them down with a soft cloth to remove any residue. Avoid harsh chemicals, as they can damage the surface, and let the furniture air dry to prevent moisture buildup.
To protect against the elements, cover your furniture with waterproof covers during extreme weather, and consider moving it indoors when conditions are harsh. Applying UV-resistant coatings will shield it from harmful rays and prevent fading, ensuring that your furniture remains in top condition despite exposure to various weather conditions.
When storing, choose a dry, sheltered area and use covers to protect against dust and moisture. Regularly inspect your furniture for cracks or chips, and address any issues promptly to prevent further damage.
Additional Repair Techniques
How can you effectively repair your plastic furniture when it suffers damage? Start by identifying the broken part and purchase the same size replacement. Always opt for authorized parts for a precise fit.
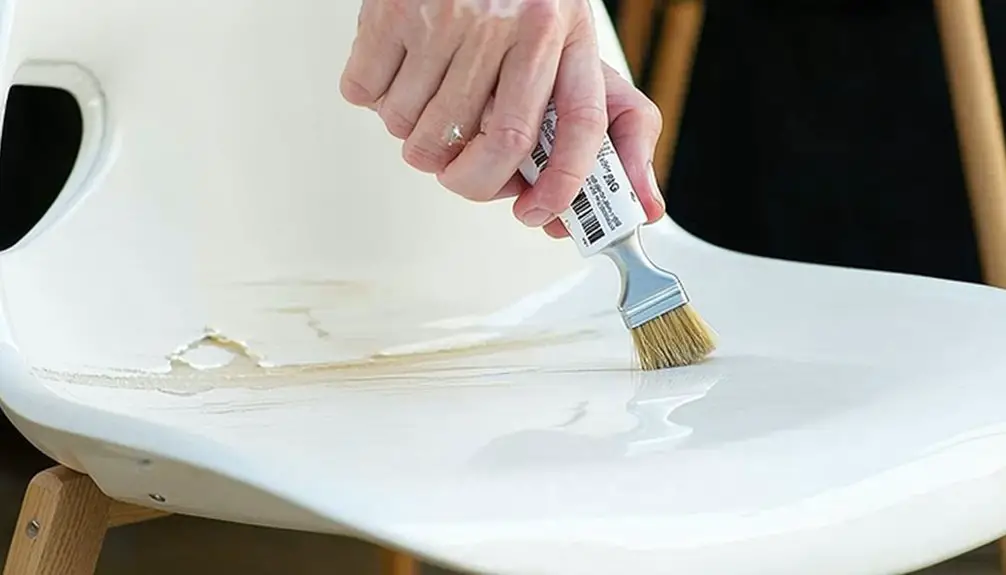
If a leg is broken, and you can't find a replacement, consider shortening it temporarily. For structural damage, secure cracked molded brackets with screws and use epoxy putty like JB Weld to bond broken areas together. Remember to let the epoxy set for 4 to 6 hours for a strong hold.
If you're dealing with missing parts, mix equal parts of epoxy putty and apply it to the damaged area, building a mound for strength.
For larger repairs, use a mold putty kit with fast-setting resin. Once the resin cures, which usually takes around 20 minutes to several hours, shape and smooth the area with a wood rasp.
Frequently Asked Questions
Can I Use Regular Glue Instead of Resin Epoxy?
You can't rely on regular glue instead of resin epoxy for strong, durable repairs. Regular glue often fails with plastic surfaces, while resin epoxy provides the necessary strength, gap-filling, and weather resistance you need.
How Can I Tell if the Rattan Is Plastic or Natural?
To tell if rattan's plastic or natural, check for texture and flexibility. Synthetic rattan feels stiffer and smoother, while natural rattan has a more textured, airy structure. Inspect for any signs of wear or fading, too.
What Are the Best Colors for Outdoor Plastic Furniture?
When choosing colors for outdoor plastic furniture, consider warm hues for energy and boldness, or cool tones for relaxation. Mix and match vibrant options to reflect your personal style and enhance your outdoor space's ambiance.
Can I Repair Furniture Without Replacing the Rattan?
Yes, you can repair furniture without replacing the rattan. Clean the damaged areas, apply appropriate adhesives or fillers, and ensure everything's securely fixed. With care, your furniture can look great again without a full replacement.
How Long Does the Epoxy Take to Cure Completely?
Epoxy typically takes about 24 hours to cure completely, but it can vary based on the product and environmental conditions. Make sure to allow enough time for it to achieve maximum strength before using it.

