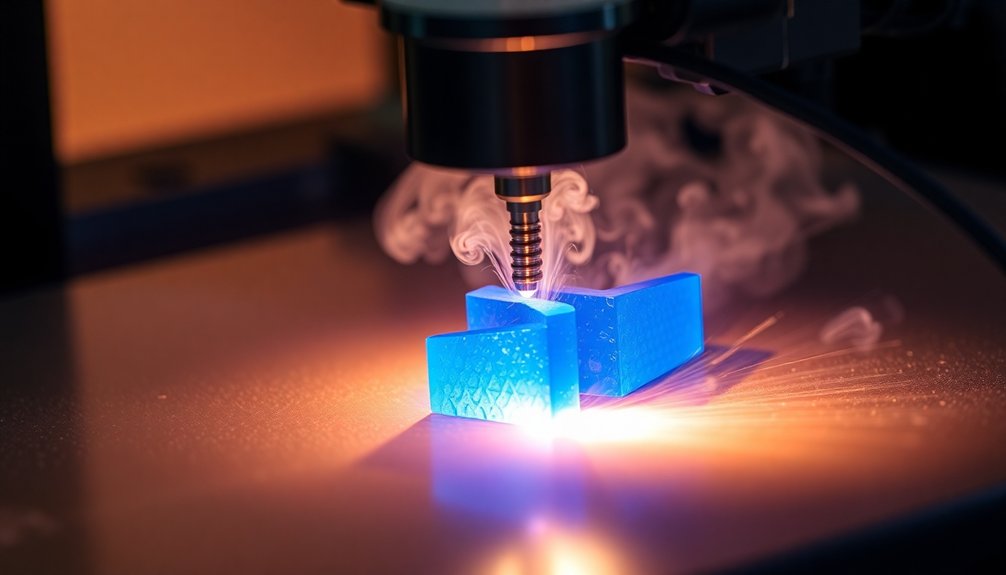
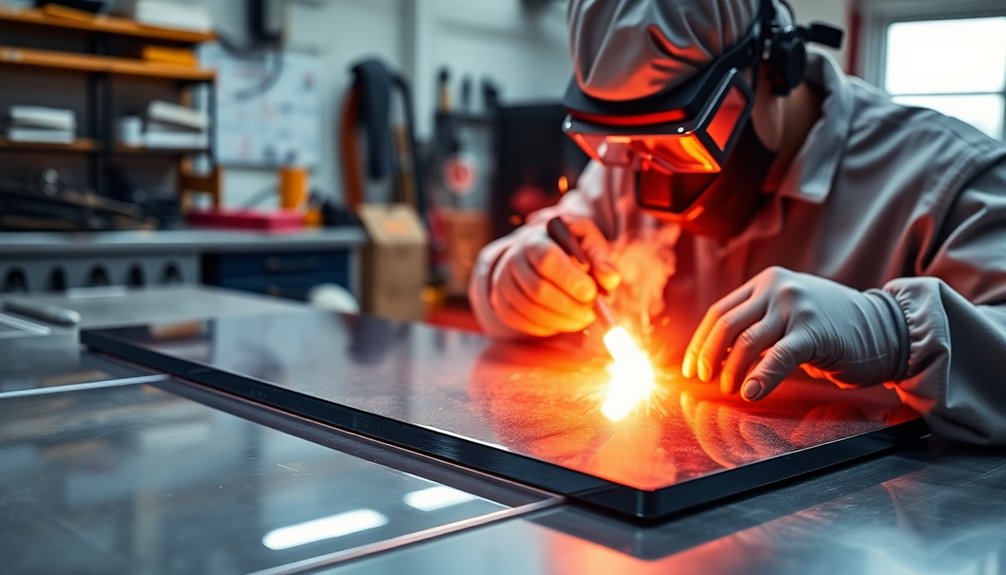
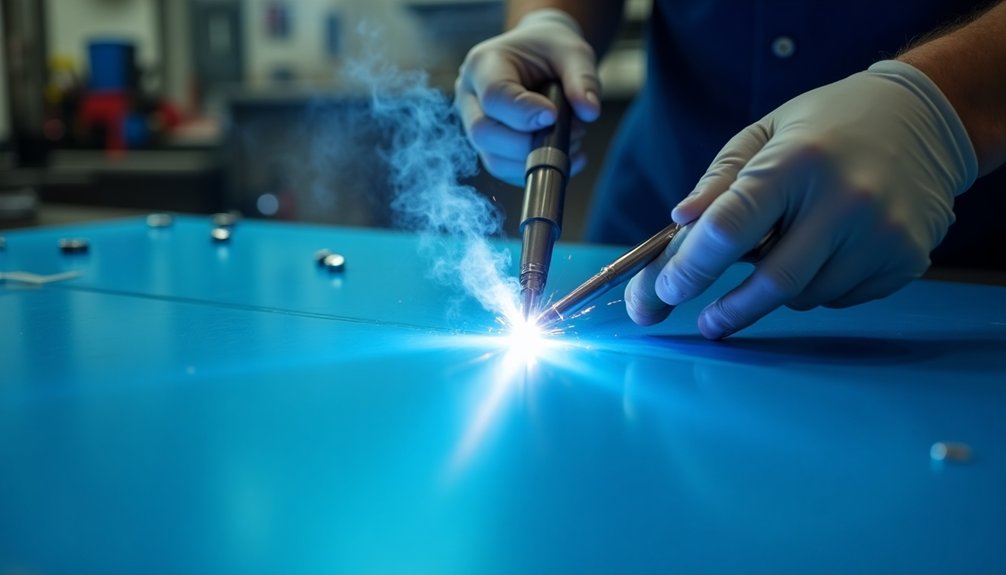
Welding polypropylene is an essential skill that you can master using six key methods. Start with proper preparation, ensuring clean surfaces and safety measures. The overlap welding technique uses a hot air tool for bonding, while spin welding employs friction to quickly join materials. For solvent welding, use specific solvents to dissolve surfaces and create strong bonds. Hot-plate welding melts plastic surfaces to fuse them, and induction welding utilizes electromagnetic heating for intricate shapes. Each method has unique advantages, so exploring these techniques will help you choose the best for your project needs. Discover more techniques and tips to elevate your welding skills.
Key Takeaways
- Overlap Welding: Ideal for polypropylene, this method uses a hot air tool to soften the material, creating strong bonds through effective surface preparation.
- Spin Welding: A fast technique leveraging rotational friction, perfect for high-volume production of thermoplastic parts with quick cycle times.
- Solvent Welding: Utilizes solvents to dissolve plastic surfaces for bonding, requiring clean surfaces and protective measures due to toxicity risks.
- Hot-Plate Welding: Involves melting plastic surfaces with heat to create strong, leak-tight seals, emphasizing the importance of proper temperature and pressure.
- Induction Welding: Employs electromagnetic heating for joining complex thermoplastic shapes, making it suitable for delicate or large components in various industries.
Preparation for Welding
When you're preparing to weld polypropylene, it's crucial to start with a clean surface. Use acetone and a lint-free cloth to thoroughly clean the material. Make sure to remove all dirt, dust, and debris that could interfere with the welding process. A clean surface is essential for creating a strong and durable bond. The choice of cleaning solvent is important, as some plastics, like polystyrene, are highly susceptible to plastic dissolution when exposed to certain chemicals.
Next, you should sand the surface with fine-grit sandpaper. This roughens the polypropylene, allowing for better adhesion. Be gentle while sanding to avoid uneven surfaces and remove any burrs or sharp edges that could cause damage during welding. Roughening the surface enhances the bonding quality further.
Once you've cleaned and sanded, consider preheating the parts. This step increases pliability, making the polypropylene easier to work with. Aim for a temperature range between 300 – 325°C for optimal results. Use a plastic welder to heat the parts evenly and always ensure proper ventilation and protective gear for safety.
Finally, align the parts carefully and use clamps to secure them in place. Proper alignment prevents movement during welding, ensuring a successful bond. With these preparations, you're set for effective welding of polypropylene.
Overlap Welding
When you're ready to tackle overlap welding, you'll need some specific equipment and tools to get started. A hot air tool, seam roller, and a welding kit are essential for ensuring a strong bond between your polypropylene layers. Overlap welding utilizes flat wide slot nozzles to heat and weld two thermoplastic membrane layers effectively. This process is often used in applications that require high chemical resistance, which is one of the key properties of polypropylene. Let's break down the step-by-step procedure to help you achieve that perfect weld.
Equipment and Tools Needed
Overlap welding polypropylene requires specific tools and equipment to ensure effective and reliable results.
First, you'll need a hot air welder, which uses heated air to soften the polypropylene. These versatile tools, like the RiOn welding hand tool or ExOn 3 Extruder], can handle materials up to 3mm-8mm thick.
Next, consider a plastic welding kit. These pre-assembled kits include everything you need—welding rods, nozzles, and scrapers—making them perfect for beginners. Options like the Master Proheat Plastic Welding Kit or PolyPro Plastic Welder ensure you won't miss any essential tools during your project. Additionally, ensure you have 30 feet of polypropylene welding rod on hand, as it is crucial for creating strong bonds.
Welding rods are also crucial. Make sure to select rods that match the polypropylene to create strong bonds. They typically come in lengths of 30 feet and are available in both black and natural colors.
Don't forget to trim the ends of the rods to a pencil-point form for better application.
Lastly, various nozzles and attachments are necessary for specific welding applications, such as Speed Welding or Pendulum Welding. They help you achieve precise welds, so make sure to choose the right sizes for your needs.
Step-by-Step Procedure
To successfully perform overlap welding on polypropylene, begin with thorough preparation. First, clean the surface using a solvent like acetone and a lint-free cloth to eliminate any dirt or debris.
Then, roughen the surface with fine-grit sandpaper to enhance the bond. Remove any burrs or sharp edges to prevent damage during welding. Preheat the polypropylene parts to make them more pliable, which improves welding efficiency, and carefully align and clamp the parts to maintain their position.
Next, use a hot air tool to soften both layers of polypropylene. Position the nozzle between the two membranes, moving it along the outer edges while maintaining a temperature between 200°C and 300°C. Avoid burning the plastic, as this weakens the weld.
Once both layers are heated, press them together with a seam roller, applying consistent pressure to ensure a strong bond. If needed, tack weld the ends to keep them stable during the process. Allow the joints to cool for a durable connection.
Finally, inspect the weld for burns or incomplete melting, clean up any residue, and store your tools properly. Regular review of safety instructions is essential to ensure proper use of welding tools. Document your results for future reference.
Spin Welding

Spin welding, a fast and efficient method for joining thermoplastic parts, generates heat through rotational friction. In this process, one part remains stationary while the other rotates against it under pressure, causing the joining surfaces to melt and fuse together.
You'll appreciate the quick cycle time of just 2 to 6 seconds, making it ideal for high-volume production. The process has been shown to double production speed for semi-crystalline materials like polypropylene compared to ultrasonic welding, which enhances its appeal in manufacturing.
When preparing for spin welding, ensure proper surface preparation and alignment for consistent weld quality. The design of the joint—whether tongue-and-groove, shear, or scarf—plays a critical role in the process's success. Polypropylene products, with their high chemical resistance, are well-suited for this technique, allowing them to withstand various environmental conditions.
Remember that semicrystalline thermoplastics like polypropylene and polyethylene are best suited for this technique.
Spin welders come in servo-electric or pneumatic models and can reach speeds up to 16,000 rpm. Automation options are available, minimizing manual intervention and reducing costs.
Additionally, spin welding offers numerous advantages, including high-quality permanent joints, hermetic seals, and energy-efficient operations without the need for adhesives.
This method is widely used in applications such as packaging, medical devices, and industrial equipment, making it a valuable technique in your welding arsenal.
Solvent Welding
Solvent welding is a popular technique for joining thermoplastic materials, leveraging the unique properties of solvents to create strong bonds. This method works by using a solvent that dissolves the surface of the plastic, allowing the materials to fuse together. Common solvents like dichloromethane and methylene chloride are often used, especially with thermoplastics such as PVC, ABS, and acrylic. One of the challenges of this technique is that it can lead to deformation and stress cracks in the welded plastics. To get started, make sure the surfaces of your plastic parts are clean and free of contaminants. Apply the solvent evenly to the joint area while it's still wet, then assemble the parts. As the solvent evaporates, it mixes the polymer chains, forming a solid bond. The use of plastic greenhouses can also protect plants from frost damage by maintaining a warmer temperature. While solvent welding is simple and inexpensive, you need to be cautious. The solvents are highly toxic and flammable, so it's essential to work in a well-ventilated area and wear protective gear. Additionally, improper application can lead to weak joints or a scruffy appearance, especially on clear plastics. Despite its drawbacks, solvent welding remains a widely used method for applications like plumbing and model making, thanks to its quick bonding process.
Hot-Plate Welding

Hot-plate welding brings together polypropylene pieces by using heat to melt their surfaces, creating a strong bond.
First, ensure the polypropylene parts are clean and free from contaminants. Pay attention to surface finish, as a smooth surface promotes optimal adhesion. Proper alignment is crucial, so make sure the pieces are aligned correctly before you begin welding. The process also relies on understanding surface energy to ensure a strong and lasting bond.
Next, set up your hot plate welding machine on a stable surface. Adjust the temperature according to the manufacturer's guidelines, and make sure the heating element is functioning properly. Temperature regulation is important to ensure consistent weld quality.
Once the hot plate reaches the designated temperature, you can start heating the surfaces of the polypropylene.
When the surfaces are adequately heated, quickly bring them together while applying sufficient pressure. This ensures the melted surfaces make proper contact, enhancing the bond strength.
Hold the joined pieces together for a predetermined cooling time, maintaining pressure to solidify the weld joint.
After cooling, inspect the weld joint for any imperfections. Hot-plate welding creates high-strength, leak-tight seals, making it a versatile choice for various polypropylene components.
Just remember to monitor the temperature closely to avoid damage from excessive heat.
Induction Welding
Induction welding offers a cutting-edge method for joining polypropylene and other thermoplastics through electromagnetic heating. This technique uses an induction coil to generate an electromagnetic field, which creates Eddy currents in susceptible materials, leading to thermal energy through Joule heating.
It's particularly useful for large, uniquely shaped, or delicate parts that are challenging to weld with traditional methods.
To start, you place an implant-rich gasket on the surfaces to be joined, applying pressure to eliminate any air cavities. Next, the induction coil heats the implants, causing the gasket to melt and create a melt layer at the joint surfaces. When you apply pressure, the molten thermoplastic flows into the joint, ensuring a strong bond.
Once the welding is complete, you turn off the induction coil and allow the joint to cool under pressure.
One of the standout advantages of induction welding is that it minimizes thermal stress, making it ideal for sensitive components. However, keep in mind that most thermoplastics are non-magnetic, requiring a special implant for effective welding.
With the right setup, you'll find induction welding to be a highly efficient method for your polypropylene projects. The process also relies on understanding the chemical resistance properties of polypropylene, which is crucial for maintaining the integrity of the weld and the material itself.
Frequently Asked Questions
What Safety Gear Is Recommended for Polypropylene Welding?
When welding polypropylene, you should wear a welding helmet, gloves, fire-resistant clothing, and a respirator. Ensure proper ventilation, and keep your work area clean to minimize hazards and enhance your safety during the process.
Can I Weld Polypropylene Without Specialized Equipment?
You can weld polypropylene without specialized equipment, but it requires careful surface preparation, proper temperature control, and basic techniques. Consider using alternative methods like mechanical fasteners or structural adhesives if welding proves too challenging.
How Do I Know if My Weld Is Strong Enough?
To know if your weld's strong enough, perform tests like torque, tensile, and bend. Ensure you follow proper procedures, maintain consistent conditions, and analyze data to evaluate strength effectively and identify any weaknesses.
What Are Common Mistakes to Avoid in Polypropylene Welding?
To avoid common mistakes in polypropylene welding, ensure proper melt zero positioning, control heat and pressure accurately, adhere to cooling times, and prepare materials thoroughly. Inspect your welds to guarantee strength and quality consistently.
How Can I Clean up After Welding Polypropylene?
After welding polypropylene, you'll want to trim excess material, smooth the weld with fine-grit sandpaper, clean with acetone, inspect for sharp edges, and ensure proper ventilation to eliminate any harmful fumes.

