
Cutting plastic lattice can seem daunting at first, but with the right tools and techniques, you can achieve a clean, professional finish for your outdoor projects. Whether you’re enhancing your deck, creating a privacy screen, or building a trellis, knowing how to cut plastic lattice accurately is essential. This guide will walk you through each step, ensuring your vinyl lattice panels fit perfectly and enhance the beauty and functionality of your space.
Step by Step Guide to Cut Plastic Lattice
Understanding Vinyl Lattice Panels
Before diving into the cutting process, it’s crucial to understand what vinyl lattice panels are made of. Vinyl, a type of plastic known for its durability and moisture resistance, is an ideal material for outdoor projects. Vinyl lattice panels come in various colors and designs, featuring cutouts that create patterns while maintaining structural integrity and allowing some visibility.
Tools and Materials Needed
To successfully cut vinyl lattice panels, gather the following tools and materials:
- Vinyl lattice panel – Choose high-quality panels for the best results.
- Measuring tape
- Pencil or marker
- Straight edge or T-square
- Circular saw or handsaw with a fine-toothed blade
- Protective gear – Safety glasses and gloves are essential for safety.
- Fine-grit sandpaper
Step 1: Measure and Mark
Precision is key when cutting plastic lattice. Begin by measuring the dimensions required for your project using a measuring tape. Once you have your measurements:
- Lay the Panel Flat: Place the vinyl lattice panel on a stable, flat surface to ensure accurate cutting.
- Mark the Cutting Lines: Use a pencil or marker to draw your cutting lines clearly on the panel.
- Align with a Straight Edge: Position a straight edge or T-square along the marked lines to maintain straight, clean cuts.
Step 2: Prepare for Cutting
Safety should always come first. Before you start cutting:
- Wear Protective Gear: Put on safety glasses to protect your eyes and gloves to safeguard your hands against sharp edges and debris.
- Secure the Cutting Surface: Ensure your cutting area is stable and won’t be damaged by the saw. Clamp the panel down if necessary to prevent movement.
Step 3: Cutting the Panel
Depending on the tools available, you have two primary options for cutting vinyl lattice panels:
Using a Circular Saw
A circular saw is ideal for straight, clean cuts on larger panels.
- Choose the Right Blade: Fit your circular saw with a fine-toothed blade to minimize chipping and ensure a smooth edge.
- Set the Blade Depth: Adjust the saw blade depth to slightly thicker than the vinyl lattice panel to prevent cutting into your work surface.
- Make the Cut: Carefully follow the marked line, guiding the saw steadily to avoid any deviations that could lead to an uneven cut.
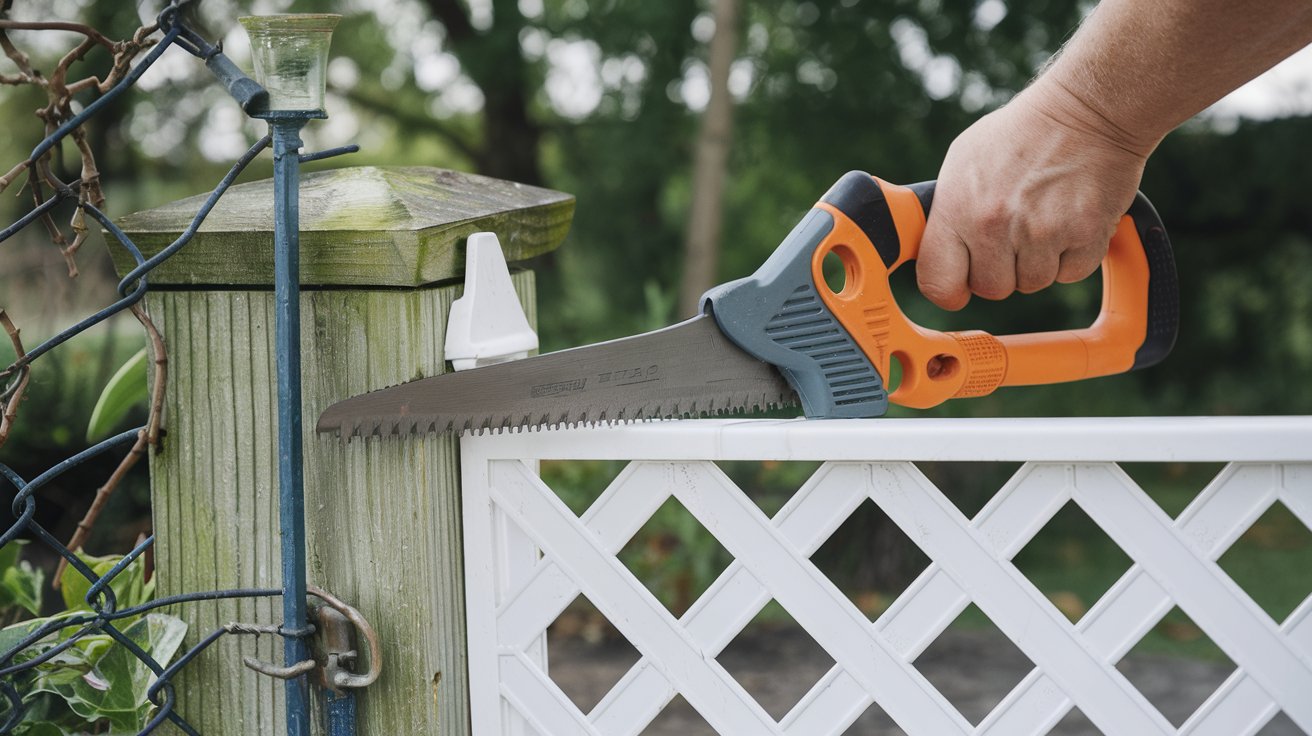
Using a Handsaw
For smaller projects or when a circular saw isn’t available, a handsaw can be a suitable alternative.
- Select a Fine-Toothed Blade: Ensure your handsaw has a fine-toothed blade to achieve a cleaner cut.
- Saw Slowly and Steadily: Move the saw along the marked line with a steady hand, maintaining consistent pressure to keep the cut straight and even.
Step 4: Sanding the Edges
After cutting the lattice panel, the edges may be rough. To achieve a polished finish:
- Use Fine-Grit Sandpaper: Lightly sand the cut edges to smooth out any imperfections.
- Be Gentle: Avoid over-sanding, which can remove too much material or overly round the edges.
Typically, your vinyl lattice will be attached behind a wood frame, such as decking, so minor imperfections in the edges are usually not visible. For additional installation guidance, refer to resources on how to install vinyl lattice.
What Can You Use to Cut Lattice Panel?
Selecting the right tool for cutting lattice is crucial for achieving a clean and precise finish. The primary tools you can use include:
Circular Saw
A circular saw is highly efficient for cutting large panels of vinyl lattice. When equipped with a fine-toothed blade, it ensures smooth cuts with minimal chipping. It’s especially useful for projects requiring multiple straight cuts, such as large privacy screens or deck skirting.
Handsaw with a Fine-Toothed Blade
For smaller projects or intricate cuts, a handsaw with a fine-toothed blade is a practical choice. It offers more control, making it easier to handle curves or detailed patterns.
Jigsaw
When you need to cut curves or more complex shapes, a jigsaw fitted with a fine-toothed blade is the best option. It allows for greater flexibility and precision in your cuts.
Utility Knife
For very thin or flexible vinyl lattice panels, a sharp utility knife can be used for minor adjustments or trimming. However, it’s not recommended for larger or thicker panels as it may not provide the cleanness required for professional finishes.
Tips for a Perfect Cut on your Plastic Vinyl Lattice
Cut Where the Strips Intersect
Always aim to cut through the lattice where the strips intersect. This approach helps maintain the panel’s strength and structural integrity, reducing the risk of weakening the lattice.
Support the Panel
Support the vinyl lattice panel on both sides of the cut line to prevent bending or vibrating. This stability is essential for achieving a straight and even cut, especially when using power tools like a circular saw.
Use a Fine-Toothed Blade
Using a blade with fine teeth is critical for minimizing chips and ensuring smooth edges. Whether you’re using a circular saw, handsaw, or jigsaw, a fine-toothed blade will make the cutting process easier and the final result cleaner.
Make Multiple Passes
For thicker or more challenging cuts, make multiple shallow passes rather than trying to cut through the material in one go. This technique reduces the risk of chipping and provides better control over the cutting process.
Practice on Scrap Panels
Before making the final cuts on your project panels, practice on a scrap piece of vinyl lattice. This practice run helps you get a feel for the tool and ensures your measurements and angles are accurate.
Drill Starter Holes for Screws
When attaching vinyl lattice to wood frames, drill starter holes to prevent the material from splitting. This step is especially important when working with wood fences or other sturdy structures.
Clean Edges After Cutting
After cutting, take the time to clean the edges with fine-grit sandpaper. Smooth edges not only look better but also make installation easier and more secure.
Maintain Your Tools
Keep your cutting tools well-maintained. Sharp blades make cleaner cuts and reduce the effort required during the cutting process. Regularly check and replace blades as needed to ensure optimal performance.